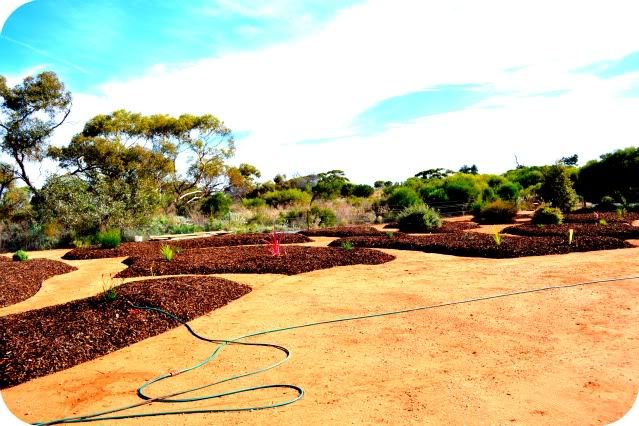
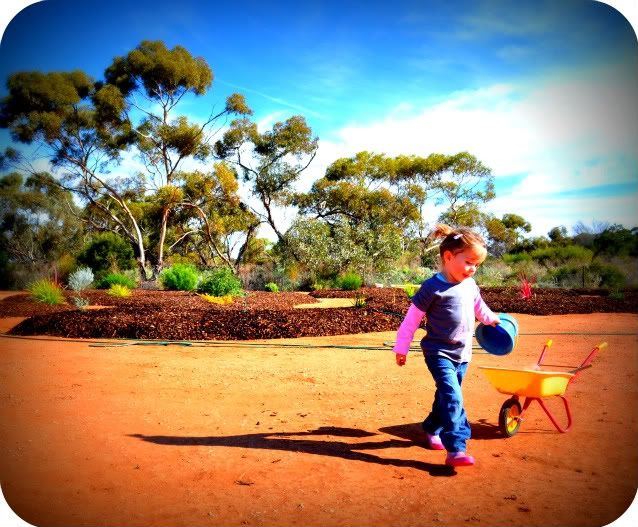
 it seems our weekends are consumed by the outdoors and weekend gardening at the moment. this is our work-in-progress 'nature trail' at the back of our block where we back onto natural bushland.
Monday, May 30, 2011
Photo of the Week #9
it seems our weekends are consumed by the outdoors and weekend gardening at the moment. this is our work-in-progress 'nature trail' at the back of our block where we back onto natural bushland.Saturday, May 28, 2011
{GRATEFUL} for sleeping babies
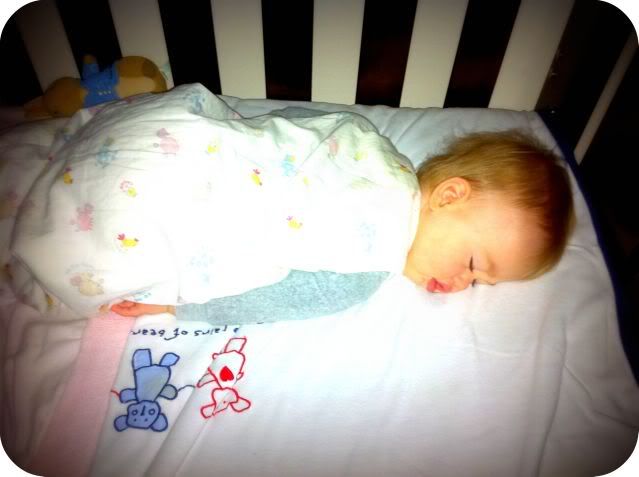 Today I am grateful for sleeping babies. In fact, not just today but for the past 5 years! Yes, I have been blessed with 3 happy sleeping babies, much to the disgust of some mothers - my apologies. I don't know what the secret is. They all have their own sleeping styles, upside down, back-to-front, inside out - anywhere on or in the bed they like to snuggle with their favourite blankets or toys. For me it has meant being able to work from home with my 3 little helpers with me each day and for that I am truly grateful being here to share each and every day with them as they grow.
For more grateful blog posts, pop on over here : )
Friday, May 27, 2011
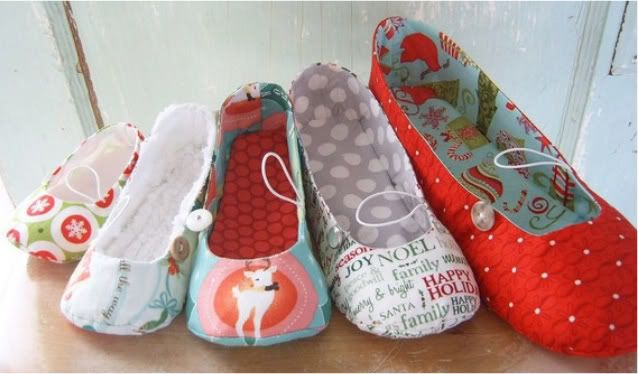
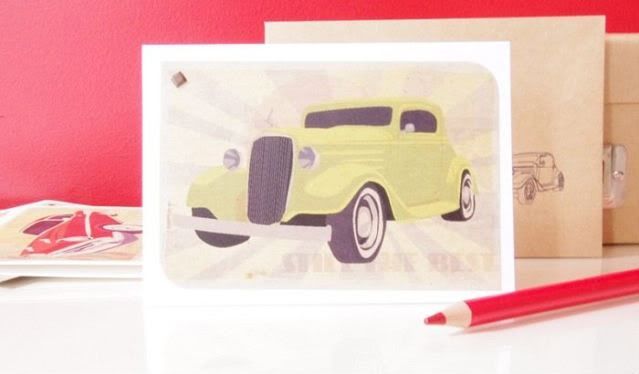
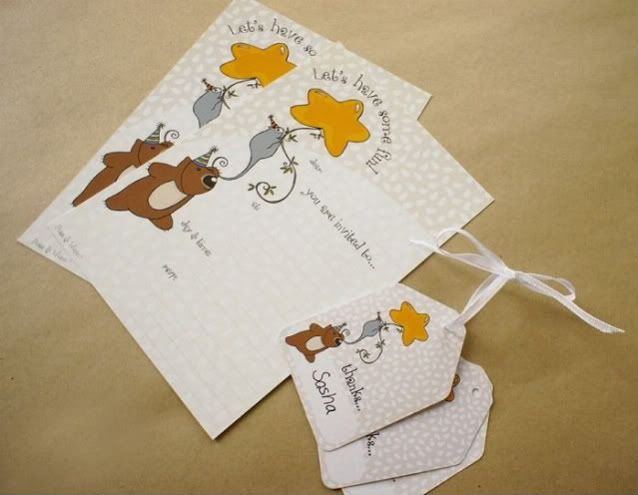
{HANDMADE FINDS} Vintage Baby
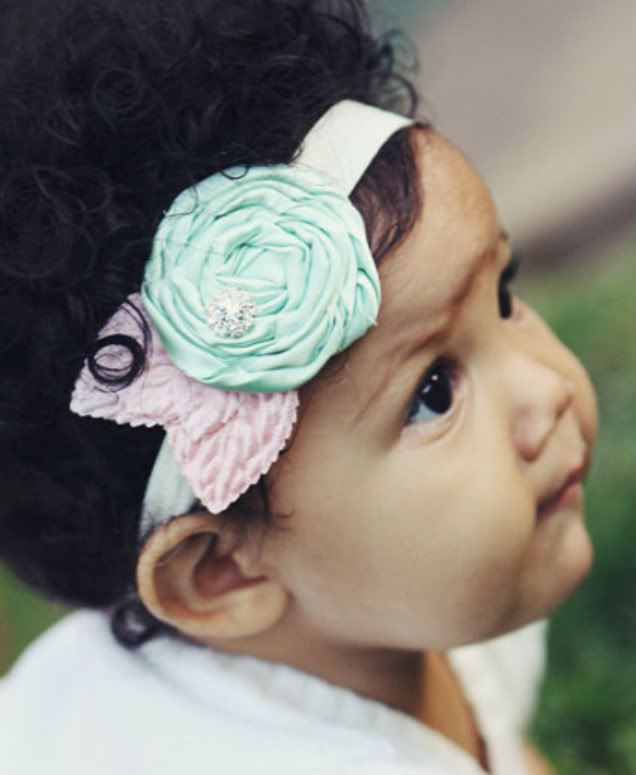 bellafleur on etsy - headband
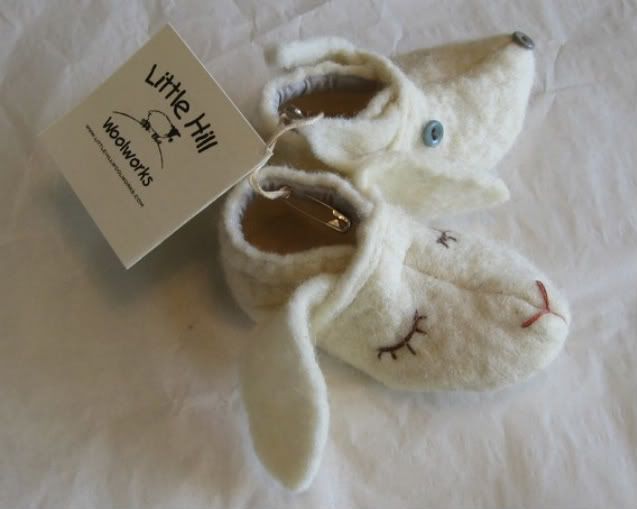 littlehillwoolworks on etsy
Wednesday, May 25, 2011
{WORDLESS WEDNESDAY} Holly Hobbie
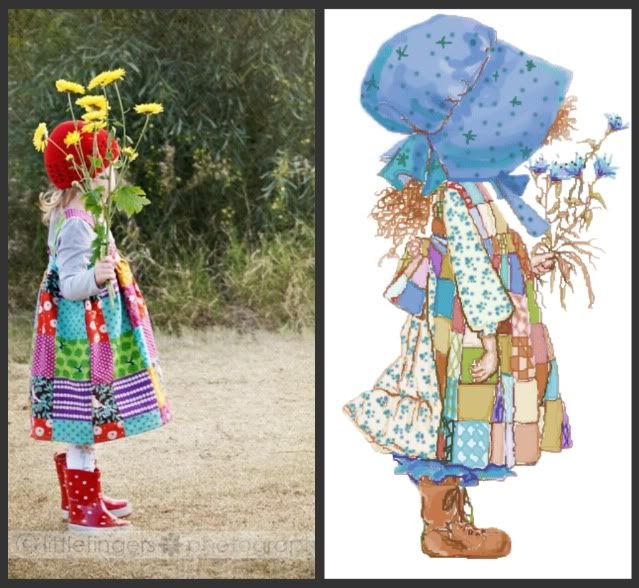 my very own little holly hobbie
(professional photo courtesty of Little Fingers Photography & Holly Hobbie image from Photobucket)
more Wordless Wednesday's here : )
Monday, May 23, 2011
{TUTORIAL} Wool Felt Crayon Roll
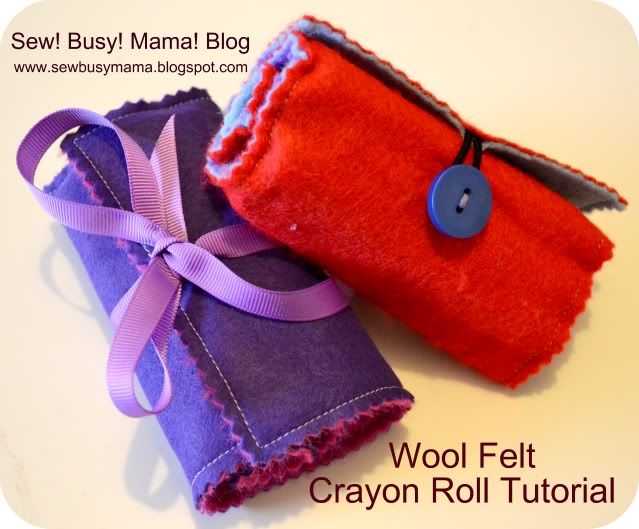 Materials List: Wool Felt - 2 x pieces: 5 inches x 12 inches (1 x inner layer / 1 x outer layer) & 1 x piece: 3.75 inches x 10.5 inches , Sewing Machine & Thread, Ruler, Scissors, Fabric pen/pencil, 8 Crayola Crayons (standard size). Closing option #1: 1 x Hair Elastic & 1 x Button or Closing option #2: 80cm length of ribbon. Pinking Shears to give your edges are pretty touch (optional)
 Where to buy Wool Felt? I have a supplier that I have been buying my wool felt from for almost 3 years now. The quality of the wool felt and the customer service is fantastic - store link HERE.
-------------------------------------------------------------------------
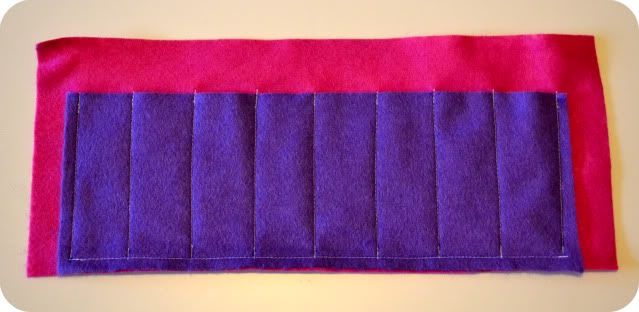
Step 1: Mark out with your fabric pencil, 8 even spaces approx. 1.1 inch apart on your smaller piece of wool felt, leaving approx. quarter of an inch at each end. (I have made my markings in pen so you can see them).
 Step 2: Lay your smaller piece of felt with the marking on top of your inner layer piece of felt in the middle, and lining up the bottom edge, and sew 1/4 inch in from the edge along the bottom edges, to secure these two pieces of felt together, sewing back a few stitches at the beginning and end to secure your stitches.
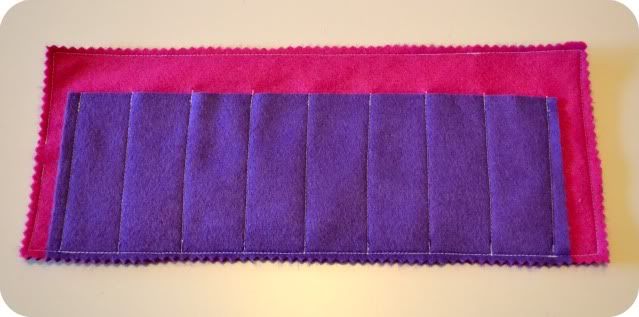
 Step 3: Sewing your crayon pockets - starting at your first marking, sew from your bottom sewn line up to the top edge of your small piece of felt, sewing back a few stitches at the beginning and end to secure your stitches. Then move on to your next marking and do the same - until your have sewn up from all your markings and have 8 little pockets for your crayons.
 Step 4: Lay this sewn section on top of your outer layer of felt and sew all the way around the edge using a 1/4 seam allowance and leaving a small opening at one end of approx. 1/2 inch.
(Optional) Step 5: Trim all the way around the edge with your pinking shears to make it look pretty.
 -----------------------------------------------------------------------
Finishing (Closure #1 - Ribbon):
Step 6: Fold your length of ribbon in half and insert the folded end into your opening of the felt pieces approx. 1/2 an inch and sew over 2 - 3 times to secure.
Step 7: Fill your pockets with your 8 crayons, roll up and wrap the ribbon around and tie with a bow. 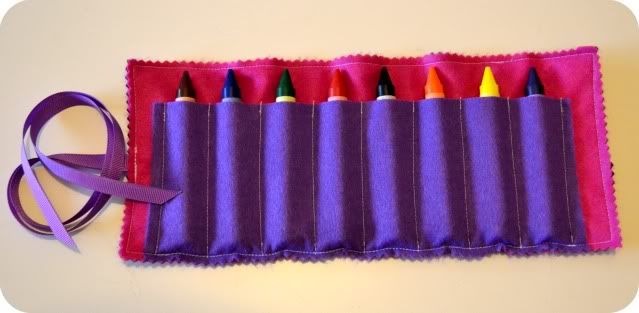

--------------------------------------------------------------------------------
Finishing (Closure #2 - Elastic & Button):
Step 6: Insert your hair elastic into your opening of the felt pieces approx. 1/2 an inch and sew over 2 - 3 times to secure.
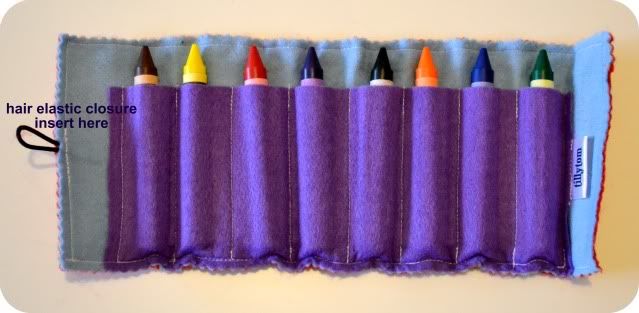 Step 7: Fill the roll with your 8 crayons and roll up. Pull your elastic tie a little to find the right spot to sew on your button to the back of the crayon roll and pop a small mark here with your fabric pencil. Unroll and hand sew your button on being careful not to sew through your pocket layer of felt on the inside of the roll. Roll up your crayon roll and loop your elastic over the button to secure.
 Your finished! Well done! Any questions with this tutorial please do not hestiate to ask : )
***Copyright note: I am happy for you to use this tutorial to make crayon rolls to sell, but please give credit where it is due by crediting this pattern/tutorial to myself. (i.e. Crayon Roll design/pattern by Sew!Busy!Mama! Blog)***
Happy sewing!
Friday, May 20, 2011


Thursday, May 19, 2011
{FAMILY} Photo session . . .
Last month we invited Angela of Little Fingers Photography out to our home to do a family photo session on a Sunday afternoon. Angela has done some fabulous photography for my tillytom label, so after 3 failed attempts due to bad weather and flooding at home, we finally got some fabulous weather, 3 mostly happy children and a puppy dog that just didn't want to miss out on the fun ; )


 And we couldn't be more pleased with the results! So many precious photos to cherish of our little family, these are just a few favourites.
Wednesday, May 18, 2011
LEGO GIVEAWAY? Yes please!
 Posie has the most fabulous giveaway happening on her blog right now for the LEGO fans!
Pop on over to find out more!
Tuesday, May 17, 2011
{MARKETS} Mathilda's Market Melbourne
Some photos of my stall at the Mathilda's Market on Sunday 15th May 2011, Malvern Town Hall.
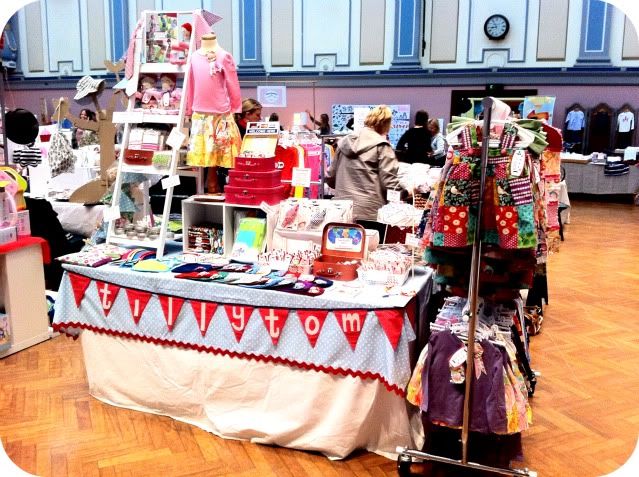
 Hubby was such a trooper driving down earlier in the week with all my stock and then all the way home again after the market ox
 Little Nate & I caught the plane down and back and the 3 of us all enjoyed our first Melbourne market. The crowd was fantastic and so were the lovely stallholders around us.
I did a very quick spot of shopping at 10 to 1 just before the market closed, getting some Baby Gap PJ's for the kids from Animal Crakers Clothing and some gorgeous little pieces for both Nate & Matilda from MiniFin.
Monday, May 16, 2011

Subscribe to:
Posts (Atom)